
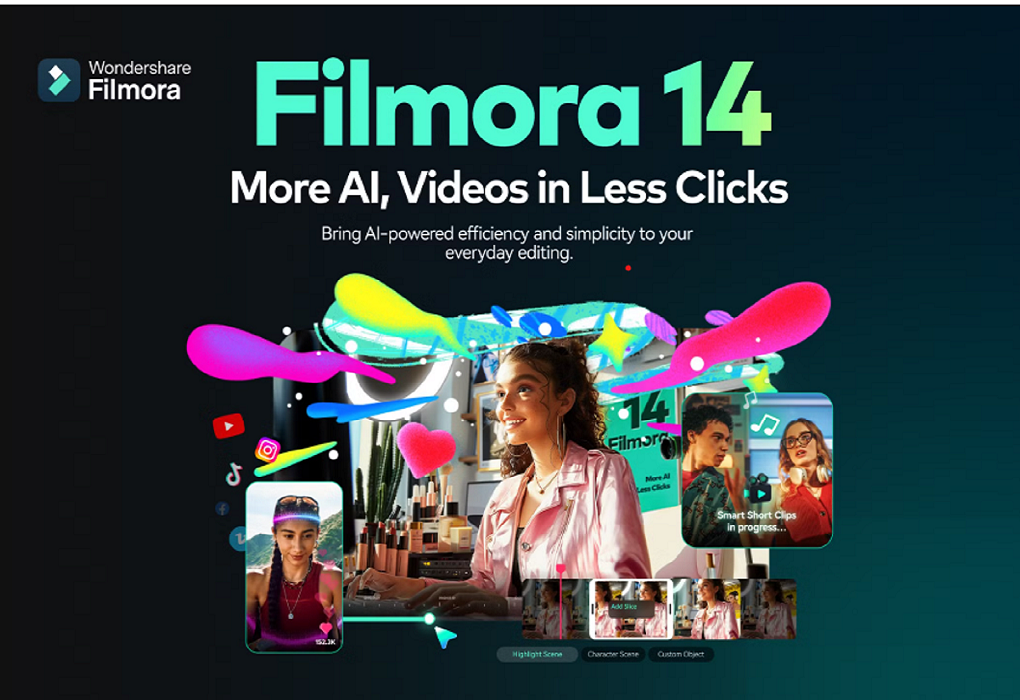
Filmora 14 Video Editor: AI-powered and powerful video editing tool
Video editing software comes in several categories, and one of the popular ones is Wondershare’s Filmora. With its intuitive interface and comprehensive functionalities, it allows it to accommodate beginners and professionals alike. Features offered by Filmora 14 help create quality videos for users with no steep learning curve like other video editing software requires. One of its more remarkable features includes AI capabilities that enhance the user experience and make complex operations simple. In this in-depth guide, we are going to walk through key features of Filmora 14, system requirements on how to get started, and tips and tricks to make it reach its full potential. Whether you’re editing your personal projects or getting ready for professional content, Filmora 14 has everything. Table of Contents Introduction to Filmora 14 AI-Powered Features System Requirements for Filmora 14 How to Get Started with Filmora 14 Key Features of Filmora 14 Pros and Cons Tips and Tricks for Using Filmora 14 Comparison with Other Video Editing Tools Frequently Asked Questions Conclusion 1. Introduction to Filmora 14 Video editing isn’t something particularly easy most of the time, especially for a beginner. The professional software is typically complex, and the learning curve of it creates this obstacle that makes it difficult and raises barriers for people to use these tools. Step forward, Filmora 14: Does all this and makes video editing simple and accessible for anyone. Filmora 14 provides a very robust set of features in a user-friendly interface. It caters to content creators, vloggers, marketers, and anyone interested in video production. From content for YouTube, Instagram, or a professional presentation, Filmora 14 simplifies the whole process. It balances great beginner tools with advanced editing, making it one of the highest-ranked choices for quite diverse user groups. 2. AI-Powered Features First of all, one of the principal features that separate Filmora 14 from other video editing tools is AI. The role of AI is very pivotal when it comes to simplifying complicated processes and automating repetitive activities. Here is a view of some of the main highlights of the capabilities in Filmora 14: Auto Scene Detection Filmora 14 automatically detects scene changes in your video and splits them accordingly. This takes time and effort off your hands, especially when working with lengthy footage. Motion Tracking Motion tracking allows users to track moving objects or subjects within a video and applies effects, text, or graphics that follow the movement. This AI-powered feature ensures precision and simplifies the process of creating dynamic visual effects. AI Denoise AI Denoise is one feature you will have in Filmora 14, which automatically reduces background noise in your audio tracks. This is one of the features in Filmora 14 that users will benefit from greatly, especially if they shoot their videos in noisy places and need high-quality clear audio that does not take hours to manually edit audio tracks. Color Matching It is the color tone matching for multiple clips in a single click. AI lets your video be consistent throughout scenes, and through this, you get to see the professionalism and even the aesthetic value of your video. Smart Rendering AI analyzes your video content, looking for ways to optimize export time into regard for complexity; matters of effects, transitions, and layers employed in project. These features from the AI vision are meant for novice video makers and even experts in improving the efficiency of their workflow while offering a much better quality on their videos. 3. System Requirements for Filmora 14 Before you use filmora 14, you must ensure that your PC meets the minimum system requirements needed for uninterrupted viewing while editing. Here are some basic and recommended specs below: Minimum System Requirements: Operating System: Windows 7, Windows 8, or Windows 10 (64-bit) macOS 10.12 and later versions. Processor Intel i3 or AMD equivalent, at least 2GHz processor. Memory At least 4GB RAM; 8GB RAM recommended for HD and 4K video editing Graphics Card: Intel HD Graphics 5000 and above; NVIDIA GeForce GTX 700 and above. Storage A minimum of 10 GB of free space for installation and to store the project in the hard disk. Recommended System Requirements Operating System: Windows 10 (64-bit) macOS 10.13 and above Processor: Intel i5 or more; AMD Ryzen 5 or above RAM 8 GB of RAM or more to edit and play videos smoothly. Graphics Card For more efficient processing of 4K video, NVIDIA GTX 1050 or above Storage SSD-based storages are recommended for better loading and smooth editing. That is, by incorporating a PC of the above specifications, you will avoid lag, crashing or delay in editing bigger files of videos, or high-resolution footages. 4. How to Get Started with Filmora 14: Getting started with Filmora 14 is very easy, even for a beginner who’s trying video editing for the very first time. The following is a step-by-step guide that leads you from the place where you download Filmora 14 installation up to your very first export: Step 1: Download and Install Filmora 14 To download the most recent version of Filmora 14 for your operating system, proceed to the Wondershare Filmora website. Then install the software according to the instructions appearing on the screen. Open Filmora 14 and get yourself familiar with the interface once installed. Step 2: Import Your Media Open a new project in Filmora 14, and import your video and audio files as well as your images for editing. You can import by either using the “Import” button or drag-drop files into the media library Ensure your media files are well structured into folders for easy retrievable access while editing. Step 3: Editing Your Video Step 4: Export Your Final Video Once you have done your edits, click on the “Export” button. Choose what format you want your video to be in (export format) and your resolution up to 4K. Also, choose your file format for your movie in MP4, MOV, etc. Choose your folder location for the exported file and then click “Export.”. 5.